". Arranged Words: acrylic paint
Showing posts with label acrylic paint. Show all posts

23 Jul 2018

Mixing It Up


Hi there,

Nothing says summer more than sunshine, dreamy clouds and flowers. And we are enjoying an abundance of all three. A summer day spent lounging about in a lawn chair with an ice tea and watching the clouds roll by is my idea of a perfect day. Of course, a good sunhat and a wonderful book just tops it off. Speaking of clouds, I've always loved this quote by David H.Thoreau: "You must not blame me if I talk to clouds."  (Definitely one for the smile file.)


We are in the throes of a heat wave, so I haven't been out and about on foot a great deal. However, it doesn't take long to adjust to heat, and when the temperatures dip a little, I've been reaching for my sweater. 

                             How hot is it? So hot that there's not a turtle to been seen on golden turtle pond.

But I've been longing to go to the woods, and I was so happy to get out there when the temperatures dropped recently to take a few pics. I didn't want to miss the mid-summer flowers.

Wild lilies ~ Turk's Cap


Crown Vetch

Milk Weed
Sumac
 A busy Chipmunk with places to go and chipmunks to see.
Cattails


The heights

Fleabane
I've been painting with acrylics recently. The great thing about it: if you make a mistake, you can paint over it and begin again. So very different from watercolour. And what would an acrylic painting be without a bit of blue?


A bit more of the detail in this picture.
Keeping with the blue and yellow theme. A small cobalt blue pitcher that I found
at a flea market.


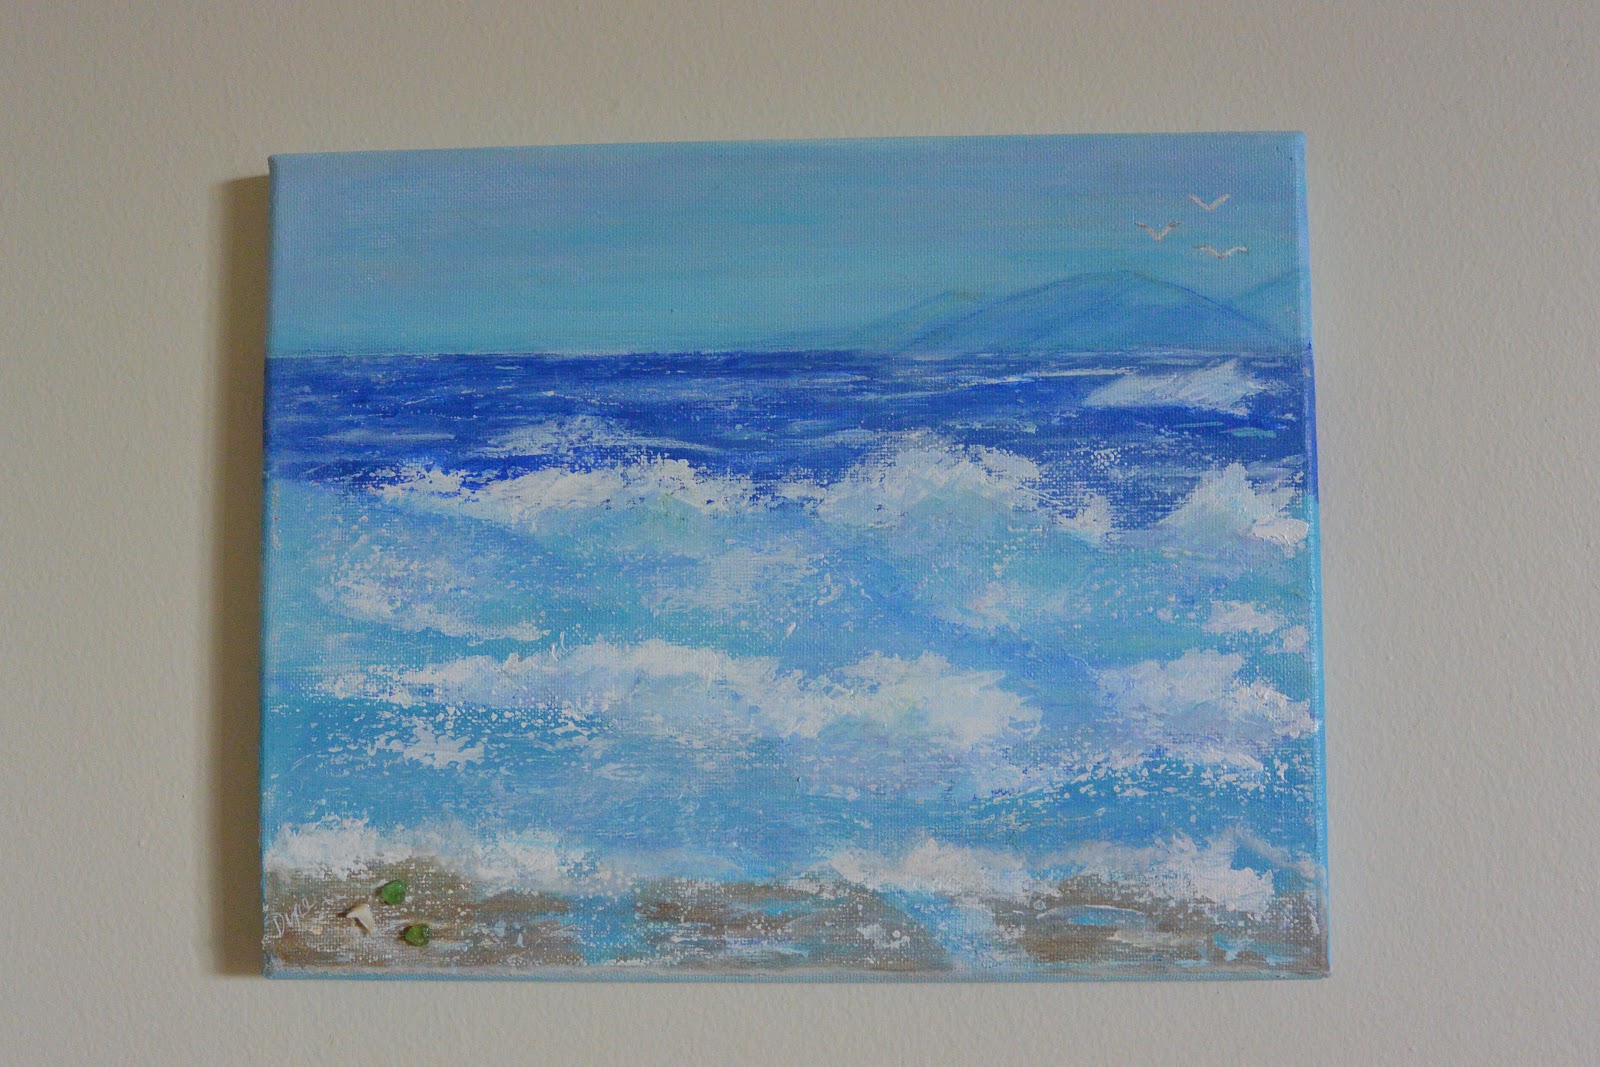
The 8 x 10 ocean scene. When I buy a larger
canvas and a few more tubes of paint, I  think I will revisit the sea. If you look closely, you will spy a bit of sea glass from the beaches of Nova Scotia on the left of the painting.


 From my watercolour painting: a butterfly fashioned from molding paste.  


The manufacturer's stamped paper mark will show when this painting is framed. My son said, it's hardly noticeable, but, well, there's no way around it, so... When I was painting the scene I didn't notice it.  (I do have a prescription for new specs!) However, I have the 'new' drawing on the drawing board, complete with a few modifications. For example, I drew a smaller leaf fern and curved it a little to lead the eye back into the painting. I also modified the center part of the orchids and changed up the vase a bit.
A few of my favourite cultivated  flowers. Rose of Sharon, Platycodon, Cone Flowers, Peony

* * *
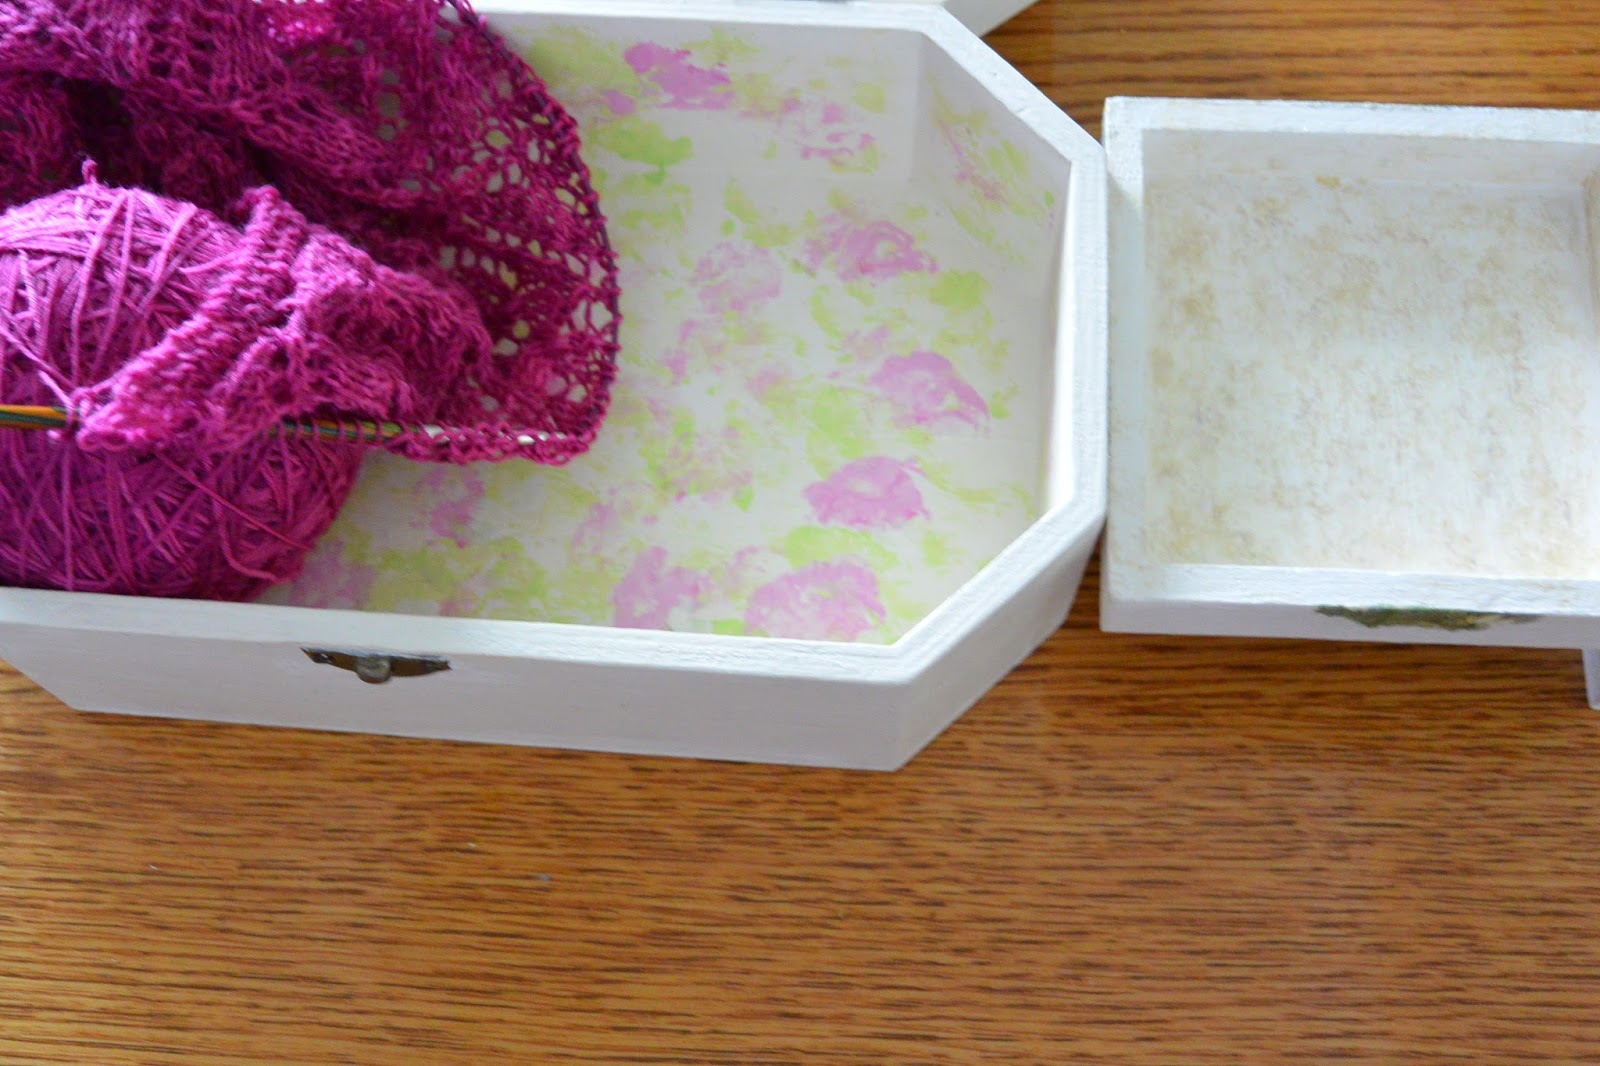
A small scarf just off the needles and not blocked yet. Actually I knit two. One for me and one for my sister. The yarn: Mini Maiden from Handmaiden.


This post with a mix of things will be linked with Soma's Wandering Camera on Thursday. A very special thank you to Soma for hosting!


And linking to: Mosaic Monday.
 Floral Bliss
 Wednesday Around the World
Pictorial Tuesday
Thank you, ladies.

Leaving you with an oldie to celebrate summer, and if you are in the southern regions I hope you are having a mild winter.


'Til next time...Cultivate your dreams!


10 Mar 2015

Knitting Box ~ Decoupage


I've had a request from a friend, so I'd thought I'd share how I finished these boxes.  My son has one, too. It's brown and has a travel theme. I used stickers on that box ~ so easy. He uses it for his spare change.

Supplies:

Wooden boxes ~ mine are from the dollar store.
Acrylic paint. I used dollar store white and antique white.
Napkins ~ there are many beautiful ones.
1 inch or, depending on the size of the box, a 1/2 inch paint brush.
Foam brushes.
Fine sandpaper.
Embroidery scissors.
Mod Podge
Optional ~  a sponge,  preferably a torn textured synthetic sponge.
Optional  ~ distress ink. Colour pumice stone.
Optional ~  masking tape. I didn't have any, so I washed the paint off.

Sand the box and dust; place masking tape over the hardware. Apply two coats of acrylic paint, inside and out, ensuring that the first coat is completely dry before applying the second coat; sand lightly between each coat of paint and dust.

Cut around the napkin image you have chosen, or for a less refined look  (box to the right) dip a small paint brush in water and lightly dab the wet brush around the image.
Carefully peel the 3 layered napkin back to the 2nd layer, removing just enough of the 2nd layer of the napkin so that you can tack (with mp) the image to the box. Slowly pull off the 2nd layer, adding mp underneath it while smoothing out the wrinkles as you go. (Turn the box for ease of application.) (You can also use saran wrap for a smoother look, but I like a few wrinkles! Google for info.)
Apply more mp over the top of the napkin with a foam brush, or use mp brush, going on to cover the whole box with an even ( not too thick) coat of mp. Dry the box and lightly sand before adding another coat of mp.  If you tear the napkin, you can layer another cut out image over the top to hide it, or build up layers for a 3D look. (See knitting box top left. On the that box, I also smoothed on a touch of ink to give it a fine distressed look before I added the mp.)


To finish the boxes below, I dabbed on acrylic artist paint (a cheap set costs approx. $5.00) with a sponge and applied a coat or two of mp to seal. On the other box, I used distress ink.


Enjoy the week...